Using the AHVVA Tools
AHVVA Analytics Tools#
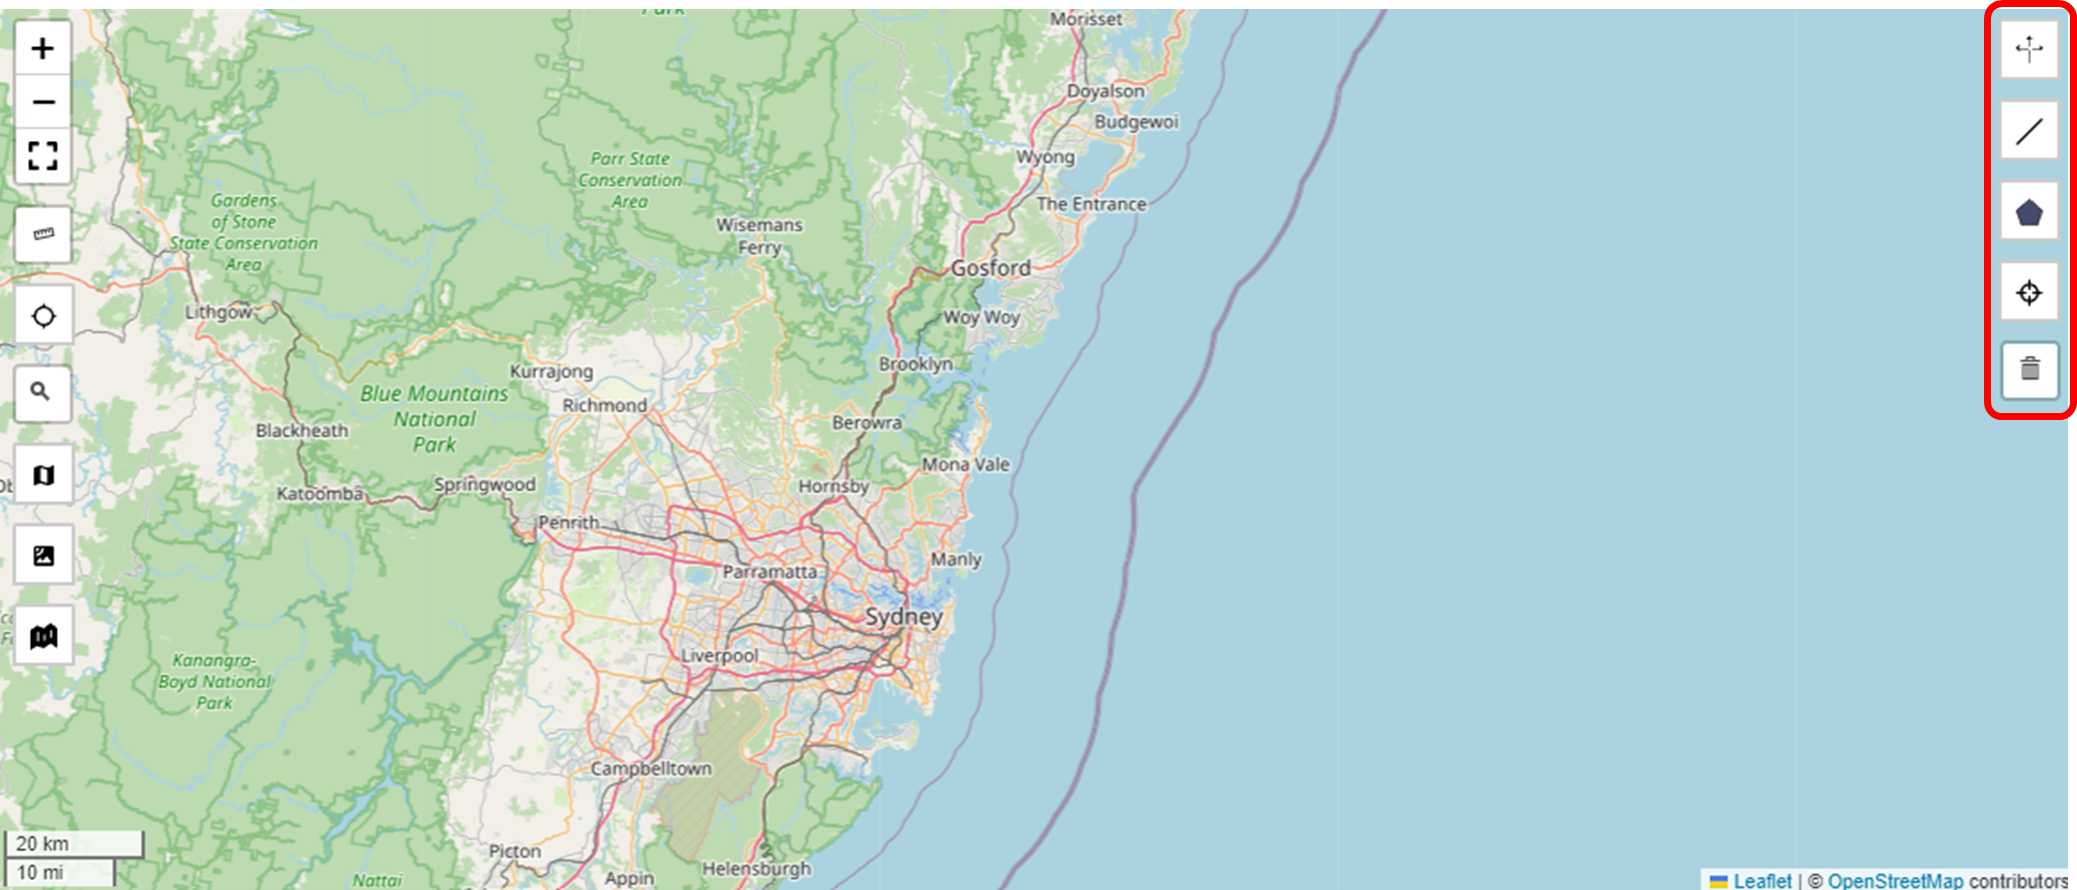
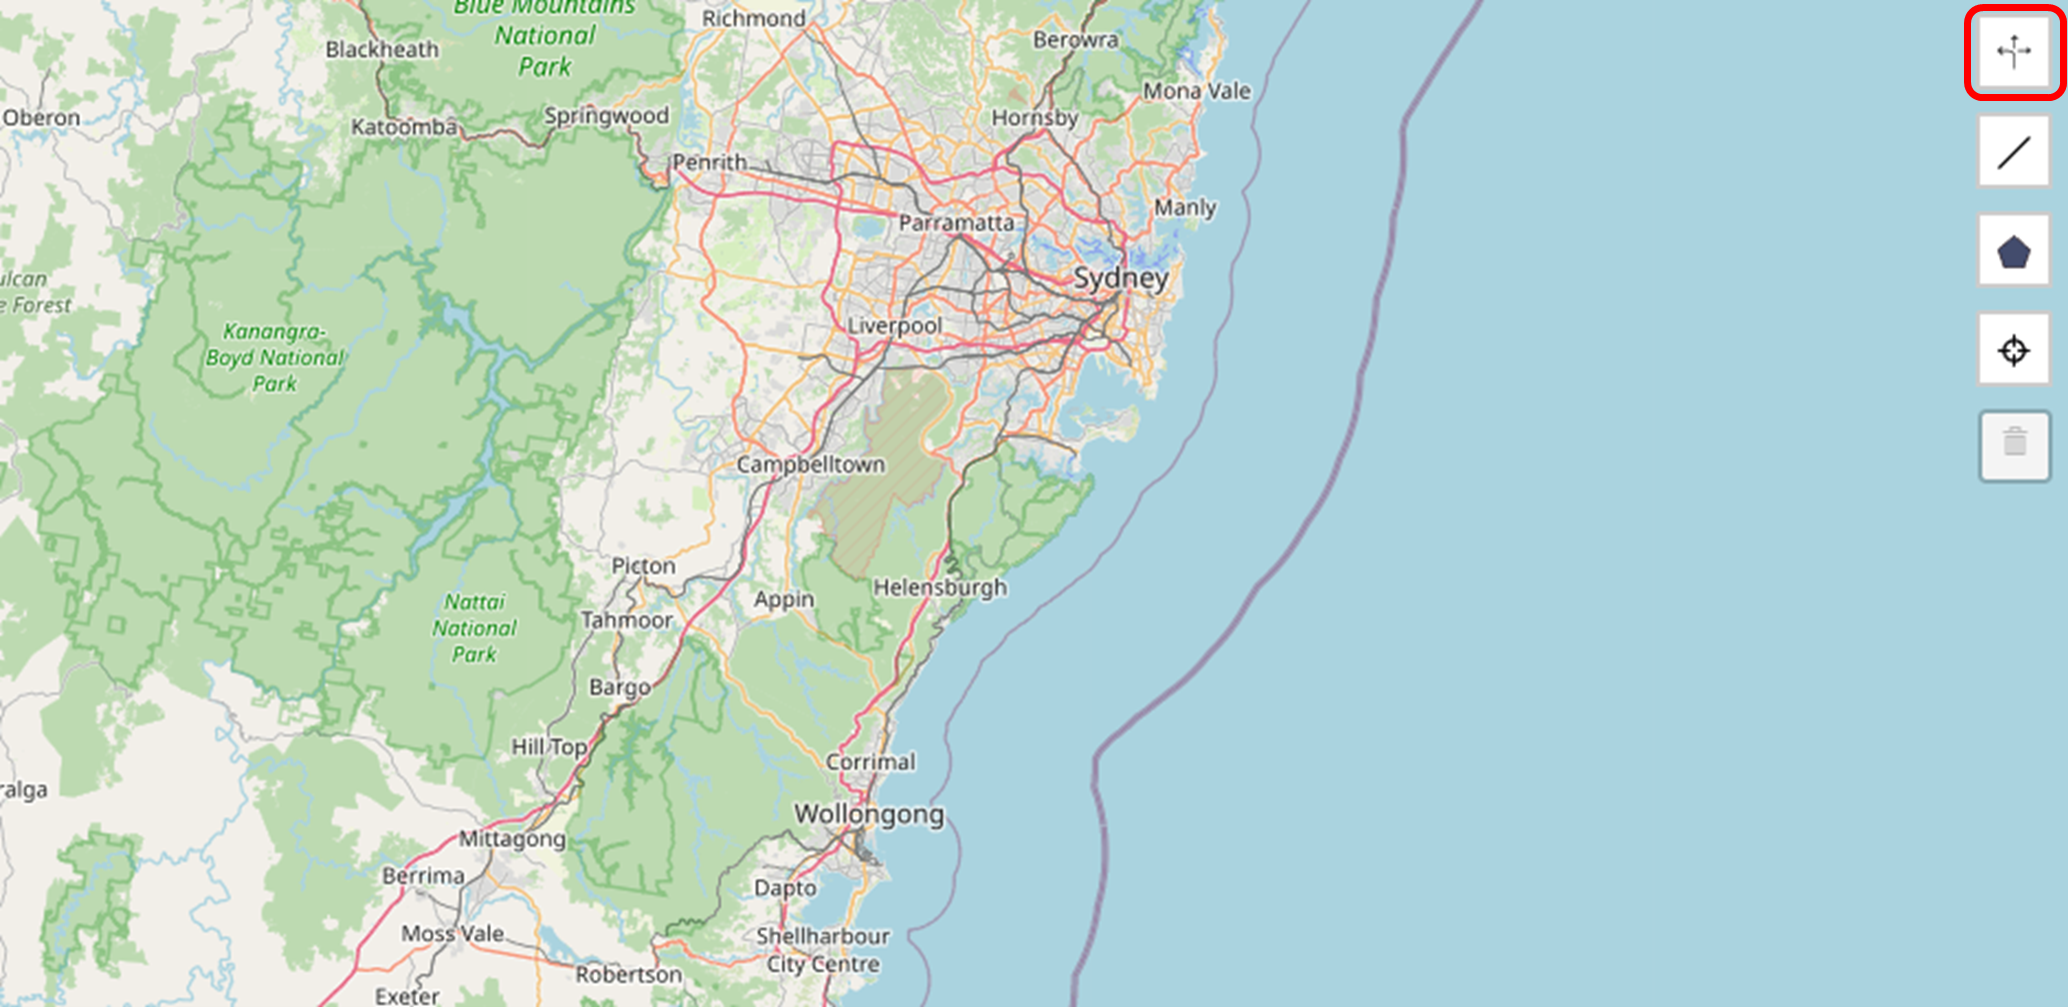
On the right hand side of the AHVVA map, you will find a range of different AHVVA tools. These are the tools you will use to configure and set the analysis to be conducted. Each tool performs the analysis in a different way, with the intention that there is a tool that best fits the scenario and circumstances required by the user.
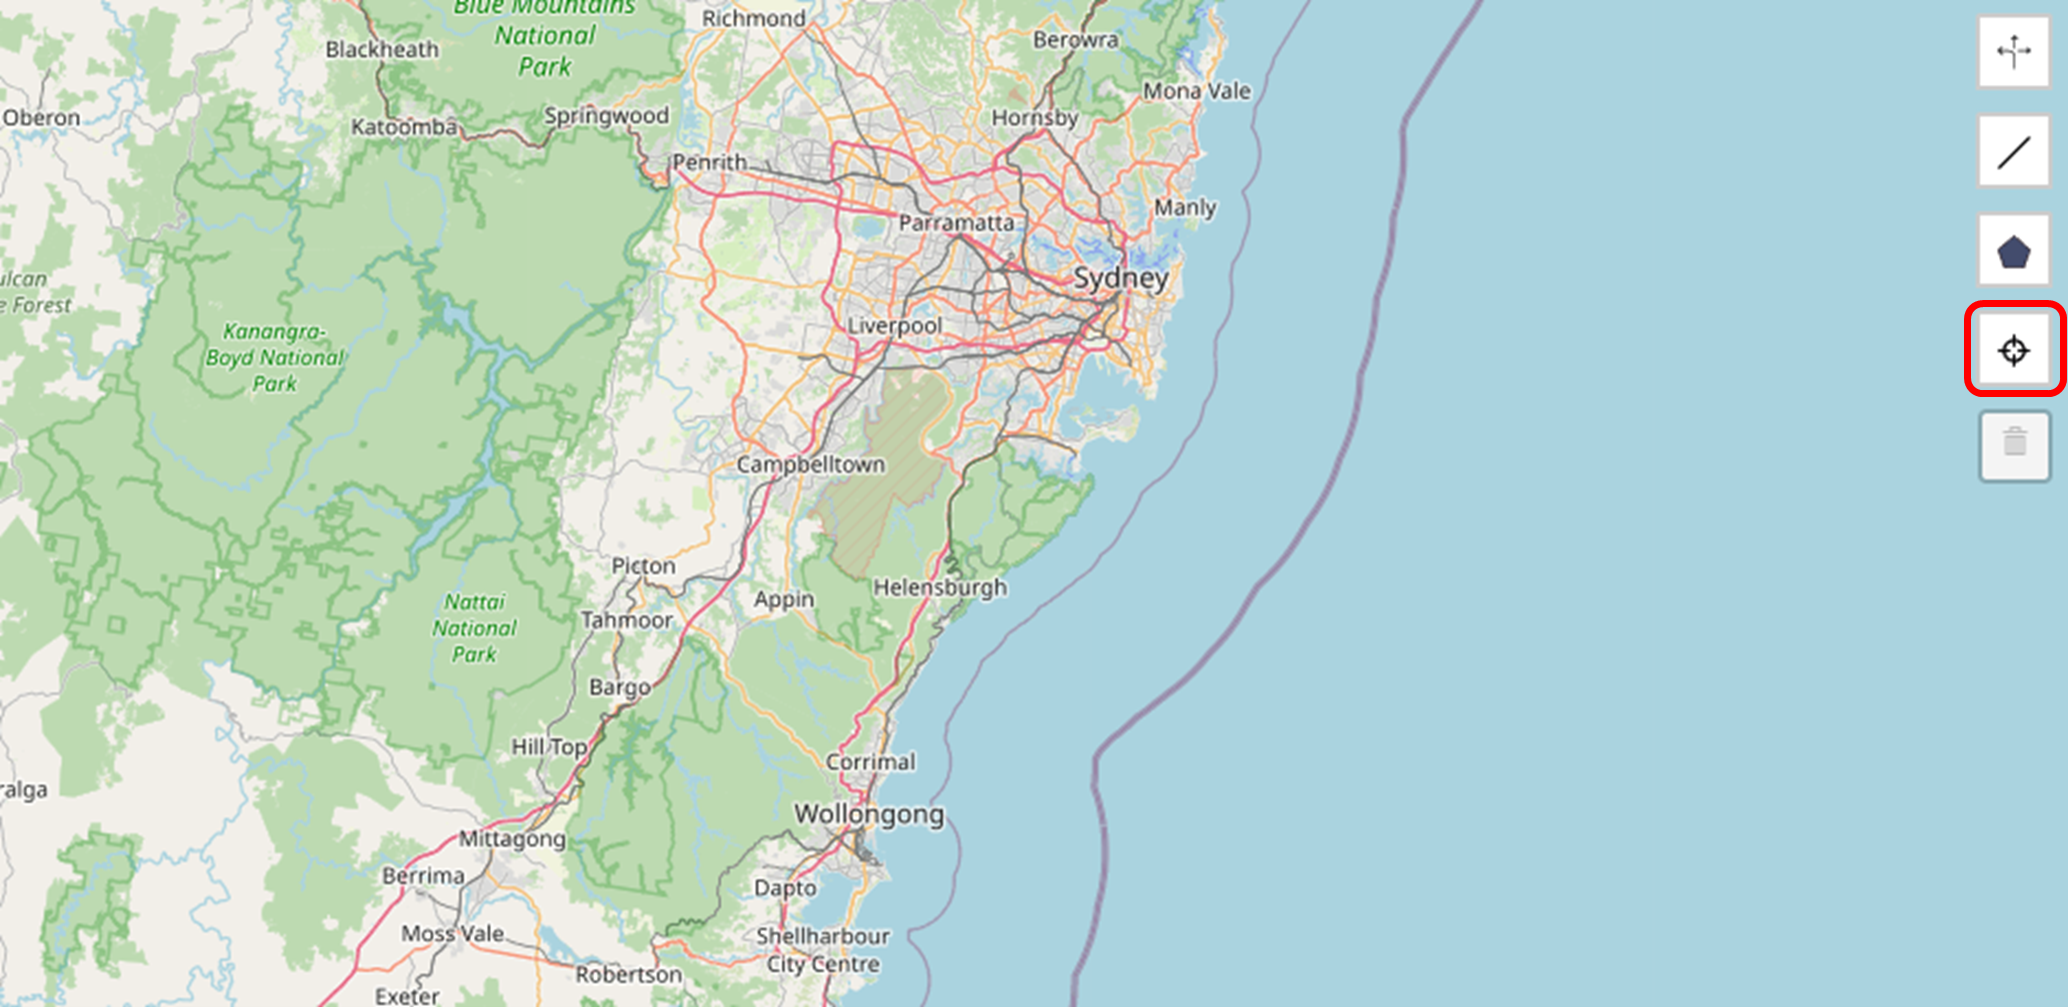
Auto-Path Marker#
This is the Auto-Path Marker Tool. This tool uses an automated path detection algorithm to automatically identify all possible paths/vectors that a vehicle can take when traveling towards a location as designated by the tool.
Instructions#
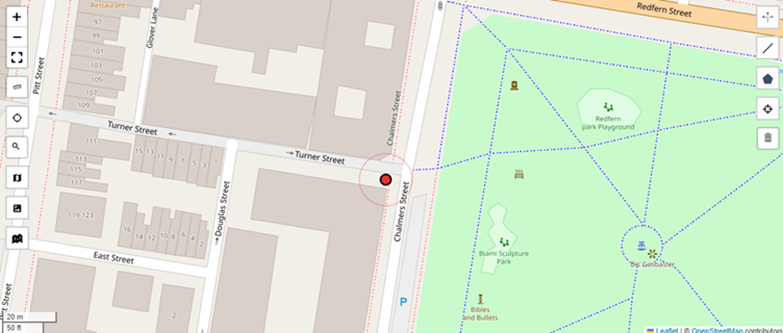
To use the Auto-Path Marker Tool, simply click on the marker in the toolbar and then place the marker to designate the point of impact.
warning
Please note the following when using the Auto-Path Marker Tool
You cannot place an auto-path marker inside a building
If you place the auto-path marker inside an area that is far from any nearby roads, the analysis may return a result where the paths “cut” across empty spaces
The path finding algorithm will automatically detect the presence of obstacles such as buildings, bodies of water etc where that data is available. If that data is not available (for example, because it has been manually removed) then the paths returned may cut across or through buildings, bodies of water or other obstacles
When to Use This Tool#
The Auto-Path Marker is best suited to assessments of multiple locations at once, and locations where the assessor is not familiar with the site. It is important to note that the paths analysed and returned by AHVVA may not include the particular or specific path you require because you are in effect asking AHVVA to identify and pick paths on its own. If you require analysis for a specific path or vector, it is recommended that you use the Manual Path Tool.
Manual Path Tool#
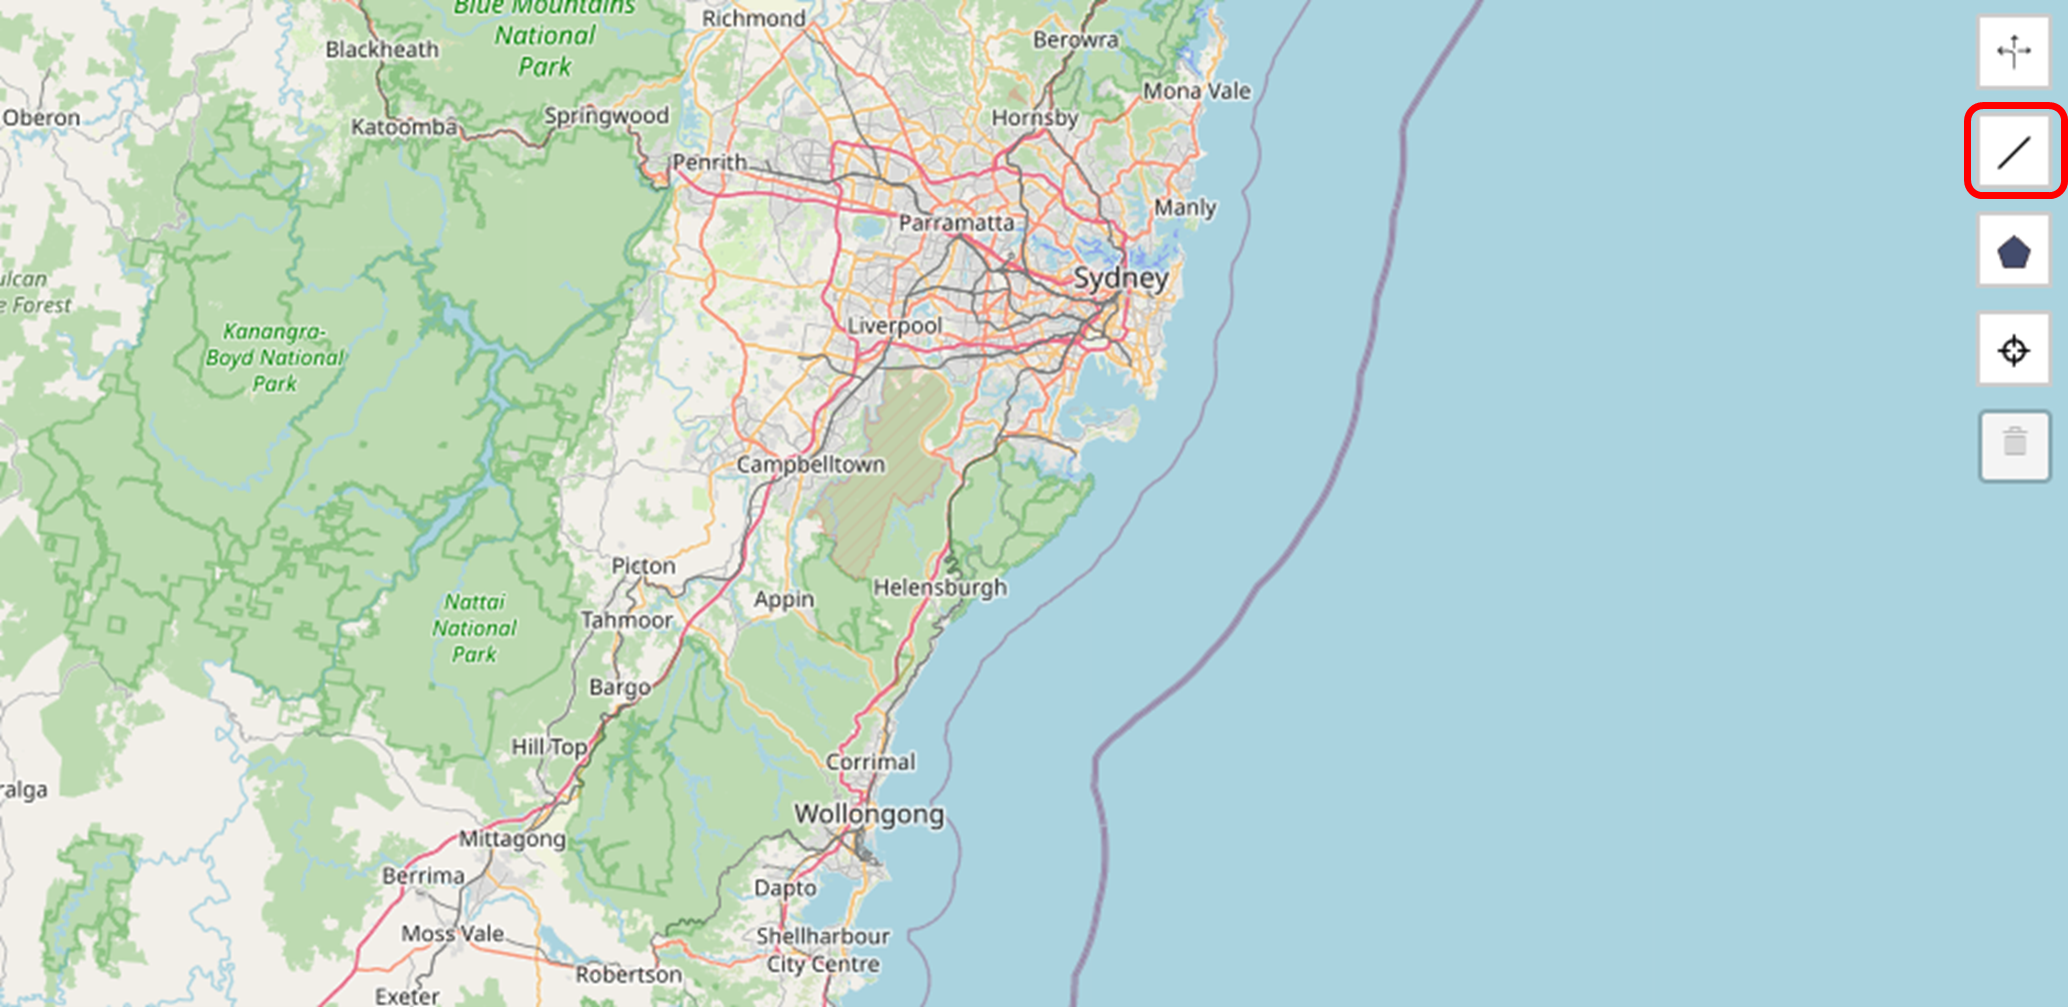
This is the Manual Path Tool. When using this tool, you can manually draw the path for analysis and AHVVA will only analyse the path that is drawn. This is typically used when a very specific and known path is to be analysed.
There is no limit on the number of paths that can be manually drawn – you can draw as many paths as you require.
Instructions#
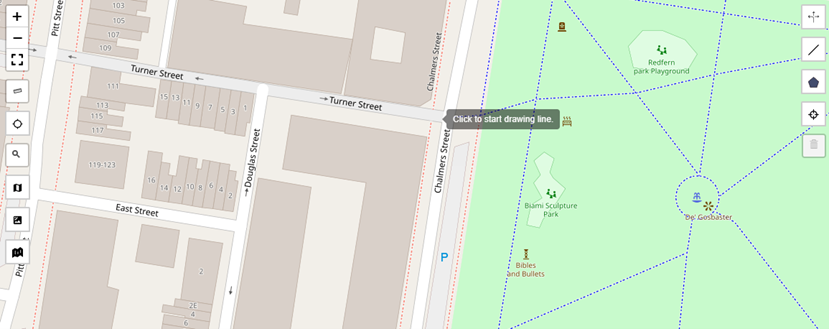
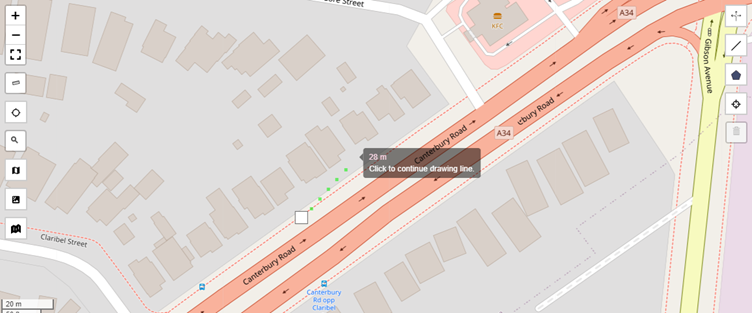
To use the Manual Path Tool, begin by clicking on the draw manual path option in the right hand toolbar. You will see that your pointer now displays "Click to start drawing line on the map". Click on the starting point of the path you want to draw on the map".
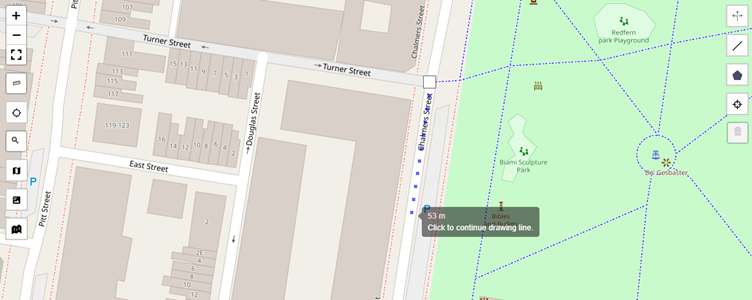
Once you have clicked on the starting point, you can now start drawing the path by clicking on the next point in the path:
warning
You must designate a path that consists of more than two points i.e. it must be a straight line.
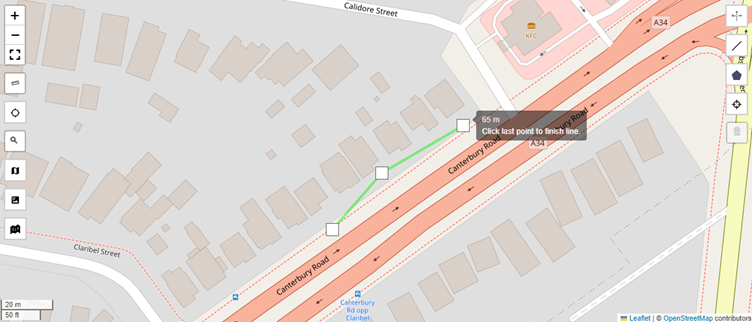
Continue to click on all points of the path until you have drawn the path you require.
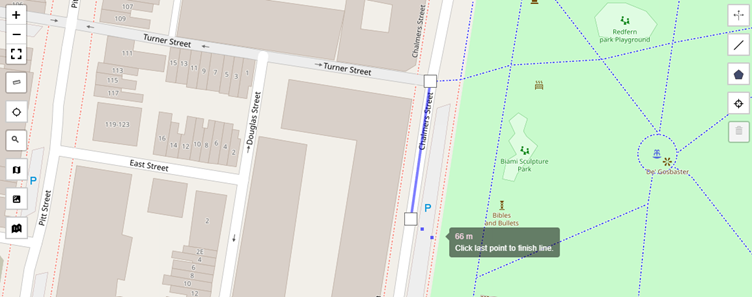
When you reach the last point of the path, double-click to conclude the path line. The path you have drawn is now set.
warning
Limitations
The Manual Path Tool will analyse the path as drawn by the user. It will not detect any obstacles, so if a path is drawn through an obstacle such as a building, it will not detect that building
When to Use This Tool#
The Manual Path Tool is the recommended tool for most situations because it allows AHVVA to return exactly the path that the user requires. When more automated tools like the Auto-Path Marker are used, the paths selected, identified and analysed by AHVVA may differ from the specific or particular path you wish to analyse. As such, it is recommended that when you are assessing a site and already know what particular paths and vectors you wish to analyse, you should use the Manual Path Tool.
The Manual Path Tool is also recommended for assessments where open-source geo-spatial data about the surrounding area may be sparse, out of date or deliberately removed. For example, in more rural areas or security sensitive areas, surrounding geo-spatial data may be missing which leads to poorer quality results if automated tools were used.
Hybrid Path Tool#
The Hybrid Path Tool works like a combination of both the Auto-Path Marker and the Manual Path Tool. The starting point of the Hybrid Path will be treated like an Auto-Path Marker, and all possible paths converging to that starting point will be automatically identified. However, the vehicle will then continue along the rest of the path that was manually drawn.
When using this tool, the path drawn must consist of more than one (1) point.
Instructions#
Begin drawing the path by clicking on the starting point of the path on the map.
As with the Manual Path Tool, continue to draw the desired path by clicking on additional points.

When you reach the last point of the path, double-click to conclude the path line. The path you have drawn is now set.
warning
The starting point of the hybrid path is effectively an auto-path marker. This means it must be used with all the limitations of the auto-path marker in mind i.e. it cannot be placed inside a building.
When to Use This Tool#
The Hybrid Path Tool is best suited for situations where the final part of a vehicle attack vector may involve it entering into an enclosed space, building or an area that would not respond well or be blocked by the Auto-Path Marker Tool. For example, see the map below of a train station.
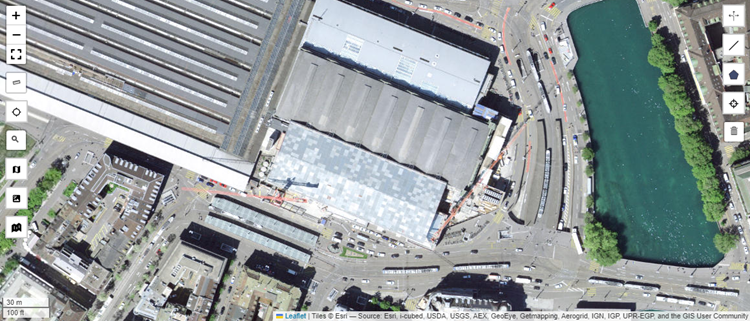
This train station is an enclosed space, but it has an opening that would be large enough for a vehicle to enter.
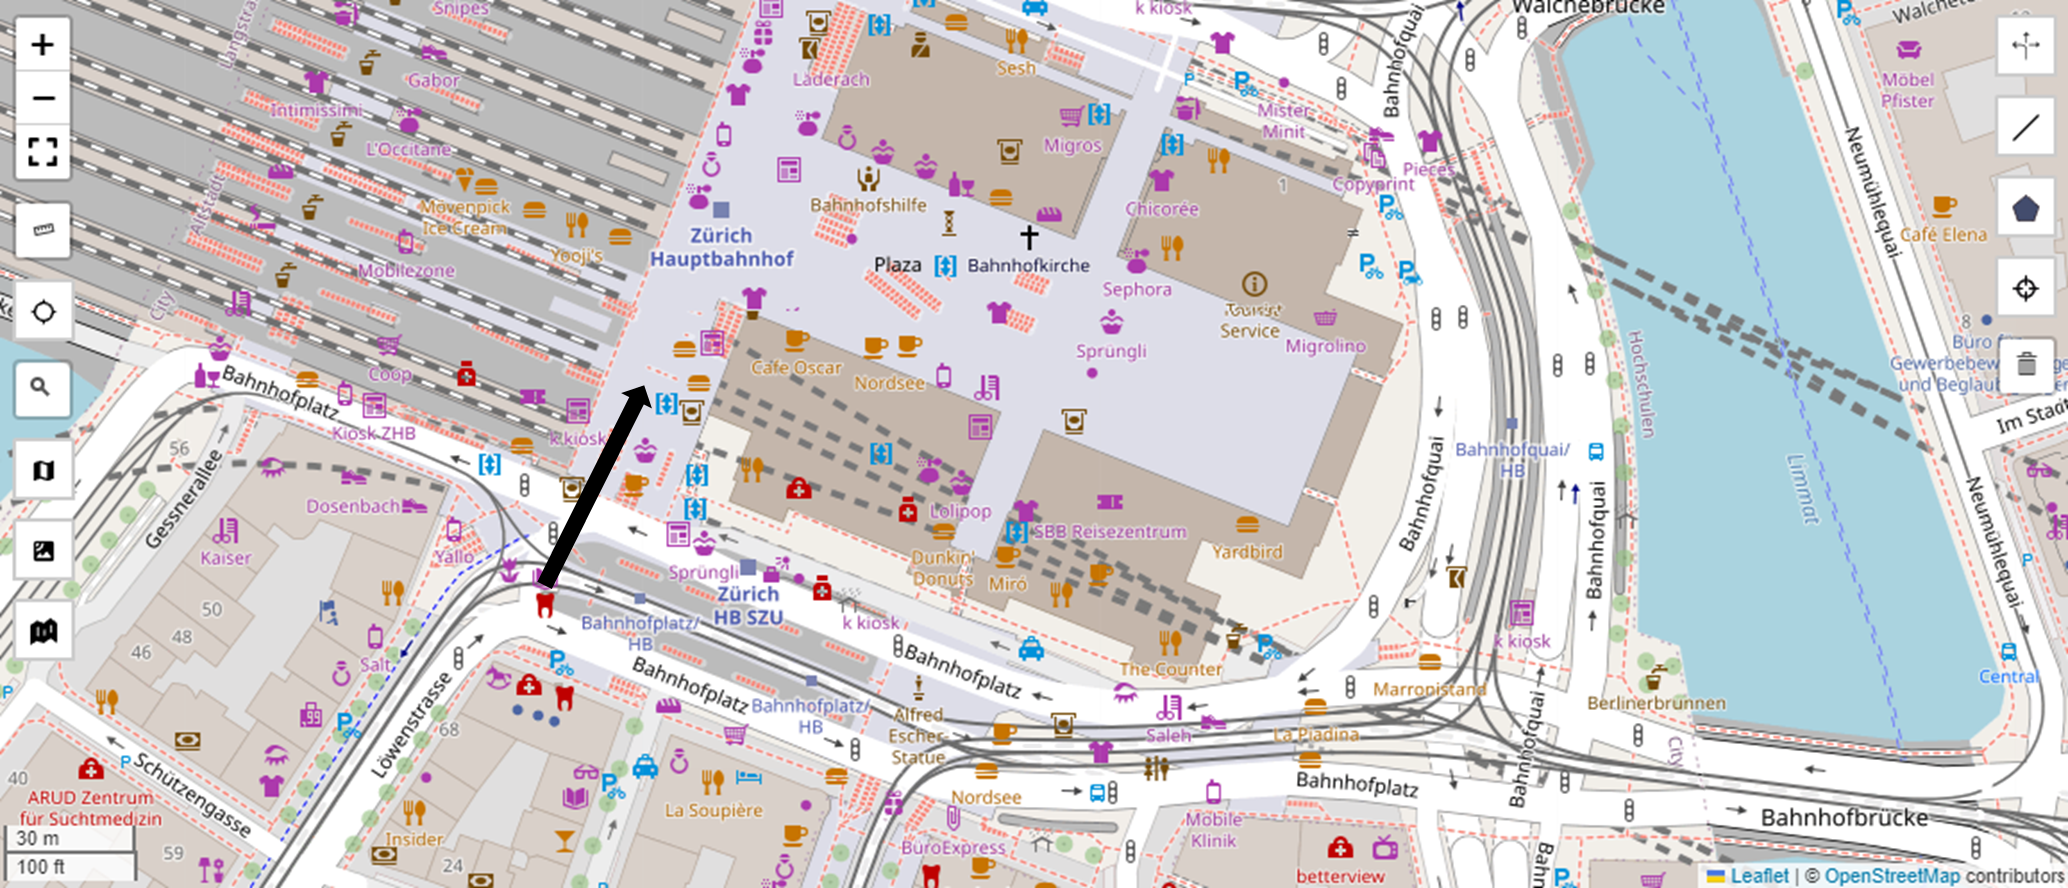
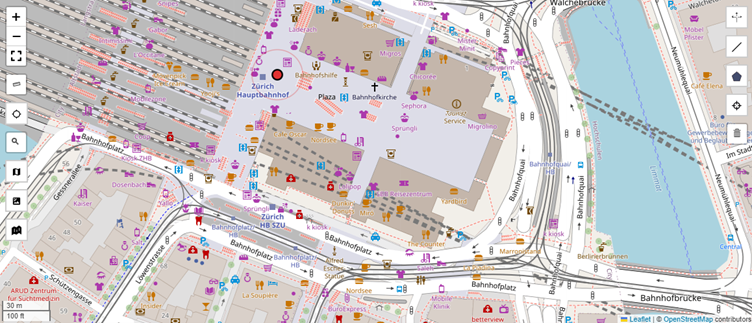
If an Auto-Path Marker was placed inside of the train station like this, it would return an error as AHVVA has detected the marker is inside a building.
To get around this limitation, we can use the Hybrid Path Tool. We draw a line starting at the point outside the building, and ending at the point inside of the building where we would like to measure the impact.
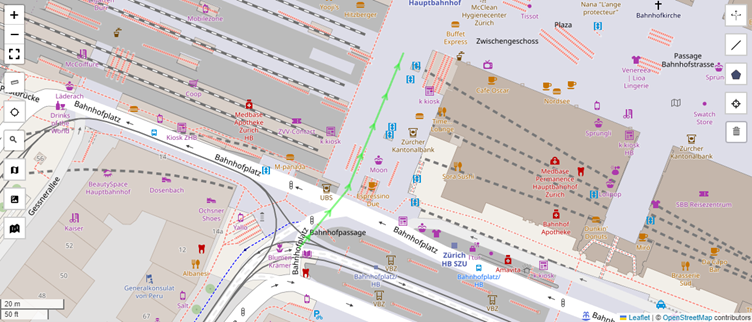
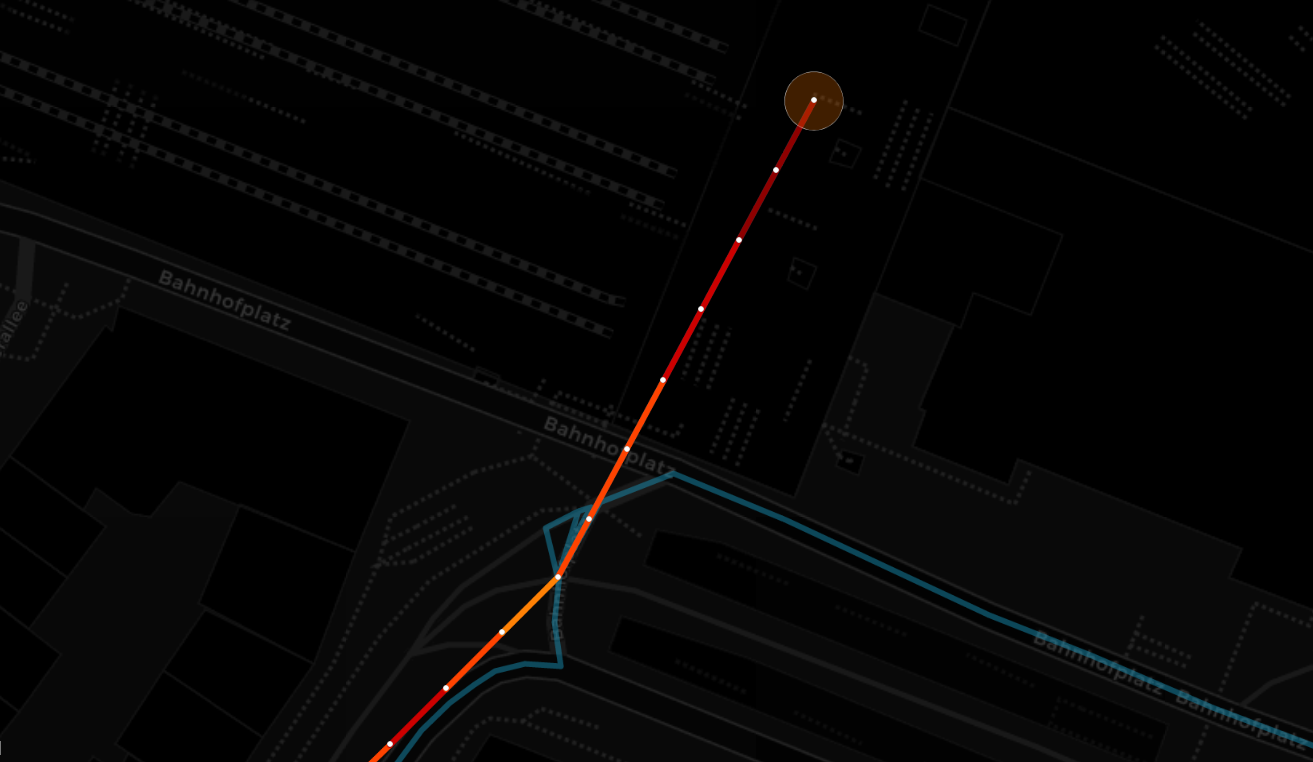
The results will look like this. You can see that AHVVA has treated the start of the hybrid path just like an auto-path marker, auto-detecting all possible vectors and approaches a vehicle could take to reach that starting point based on the surrounding geo-spatial data. It then follows the path that we manually drew into the building.
Blocking Element#
The blocking element allows you to close off designated areas, roads, paths and streets to exclude them from any analysis conducted by AHVVA. This can be helpful, for example, to replicate road closures or to focus the analysis on particular directions or exclude paths that would not be applicable.
Instructions#
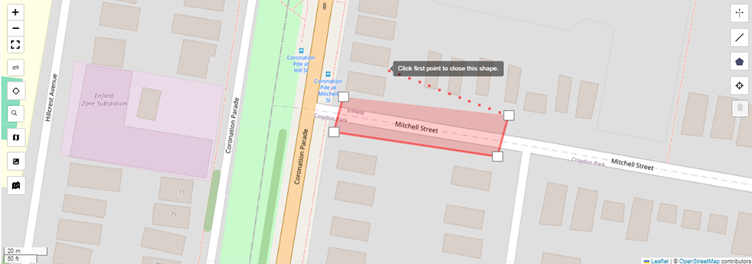
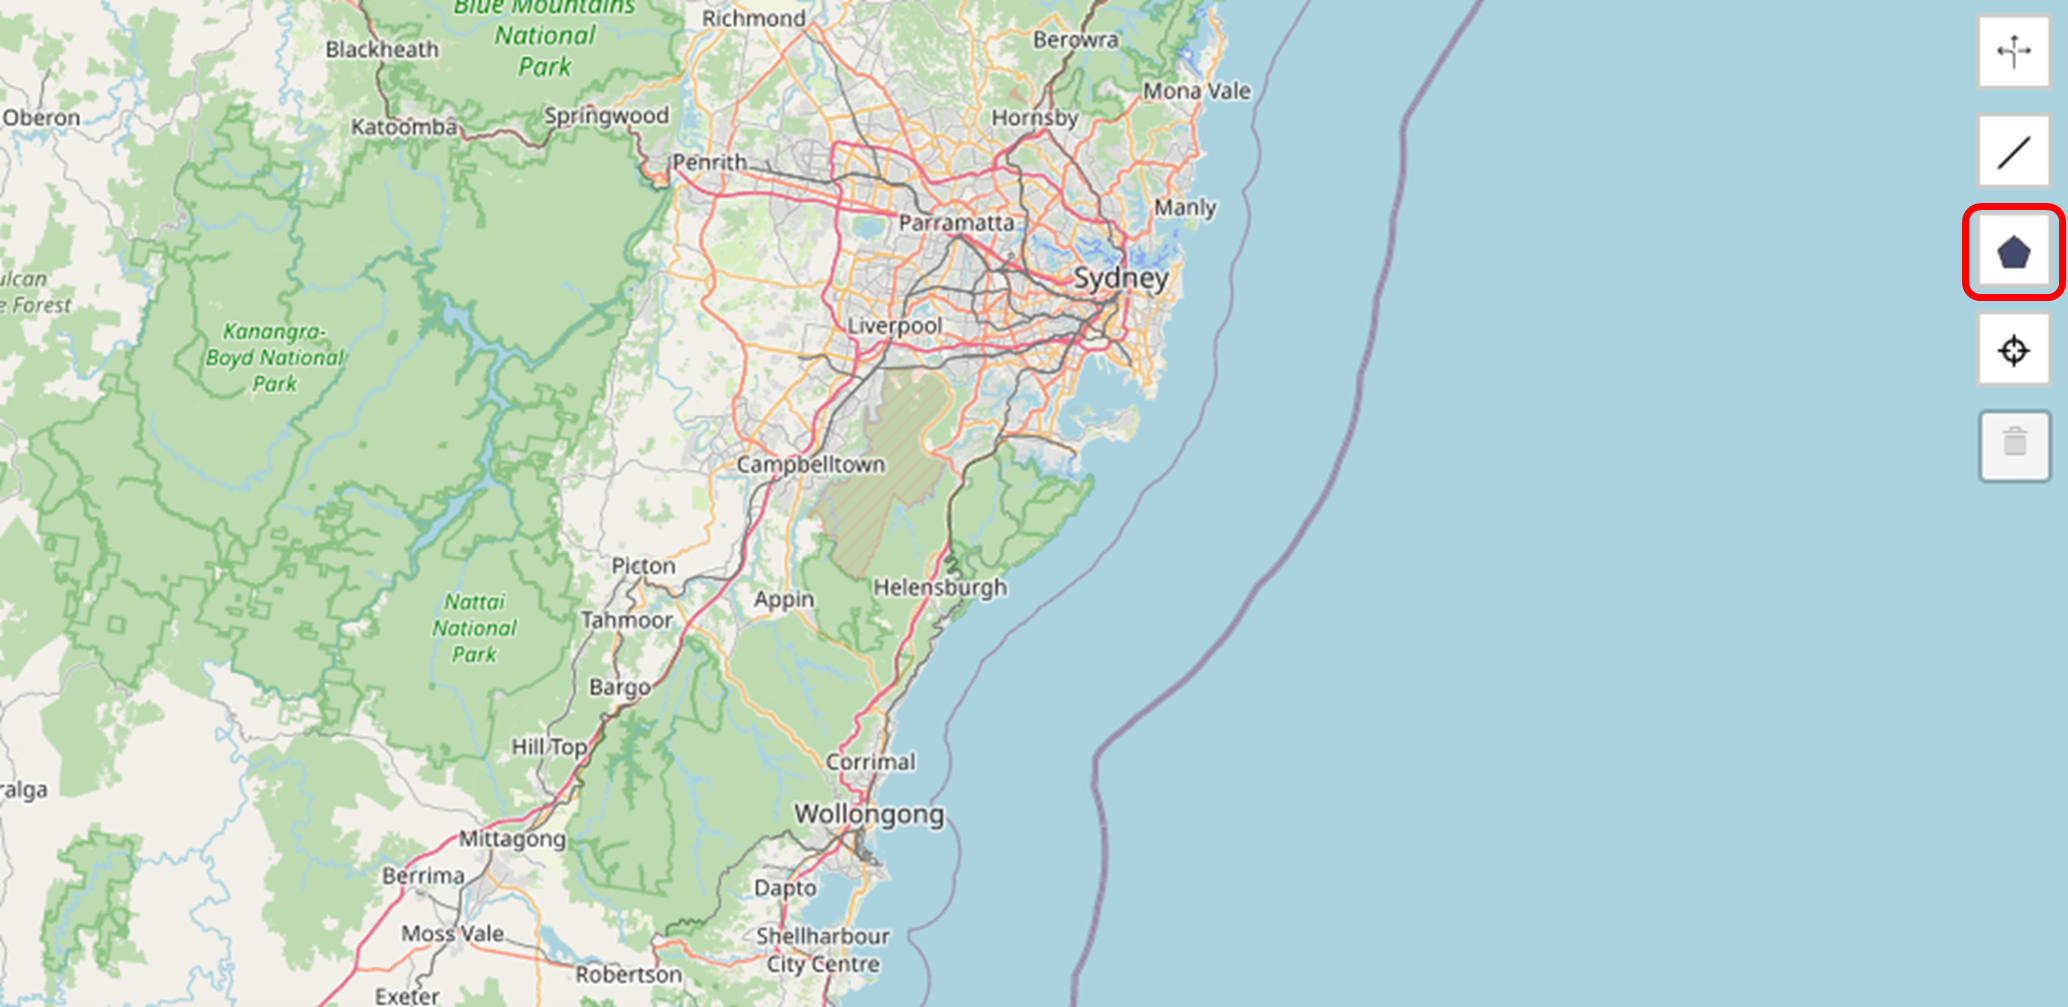
To use the Blocking Element Tool, begin by clicking on the tool in the toolbar. You can now click on the starting point of the blocking shape to begin drawing the blocking element. Using the polygon tool, draw a shape to cover the area which you wish to block from the analysis. Any roads, paths or streets within the shaded area will not be included in the analysis.
Once you have completed drawing the shape, connect the line to the starting point of the shape to close it off and set the shape on the map.
When to Use This Tool#
The Blocking Tool can be used to replicate road closures, or to focus the analysis on particular directions or exclude paths that would not be applicable.
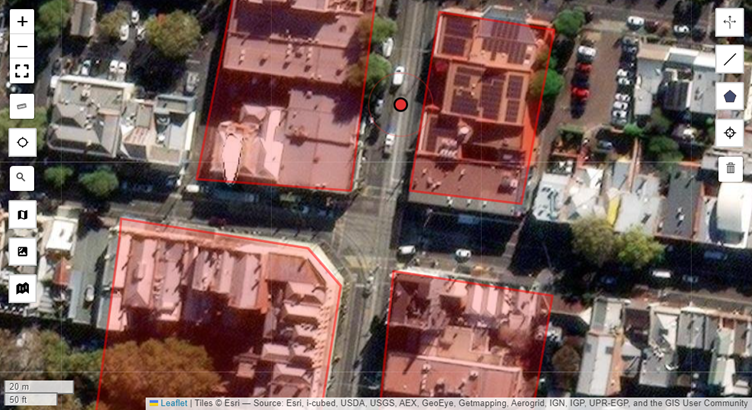
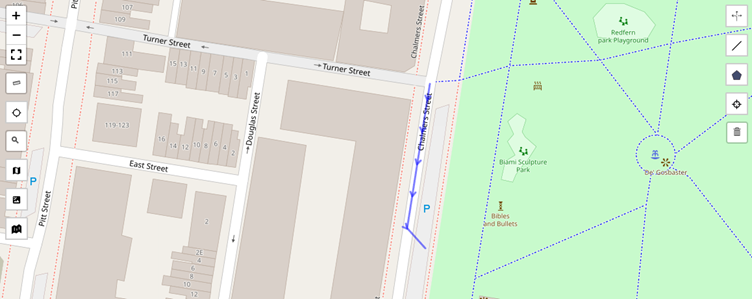
In the scenario below, a street festival is occurring on a street, and analysis is to be conducted at the start and end of the street festival area. The road in between the two markers is where the street festival will be occurring so it will be closed off to any traffic. If no blocking element is placed, the auto-path marker will detect paths originating in or going through the area where the street is closed off.
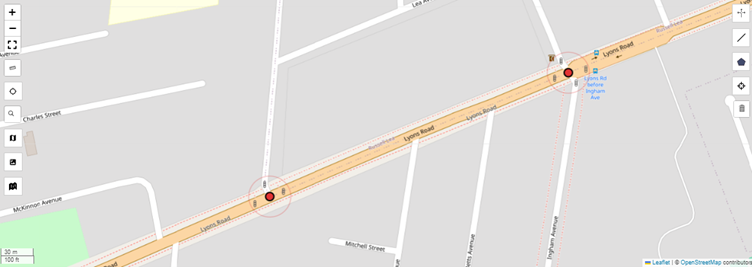
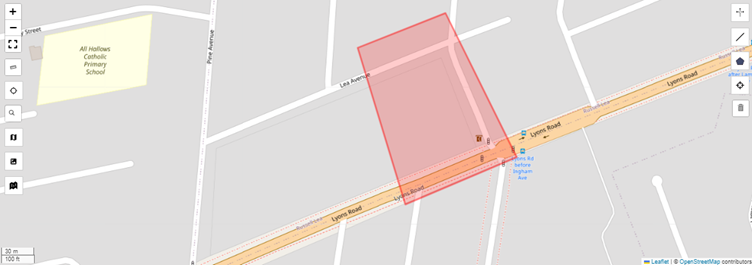
In this case, we can place a blocking element over the area where the street will be closed off to ensure that any paths originating or going through that area will not be included in the analysis.

You can see that with no blocking element placed, the analysis will include paths originating inside of the closed off street because AHVVA does not know that those streets are closed off.
This is the result with the blocking element used:
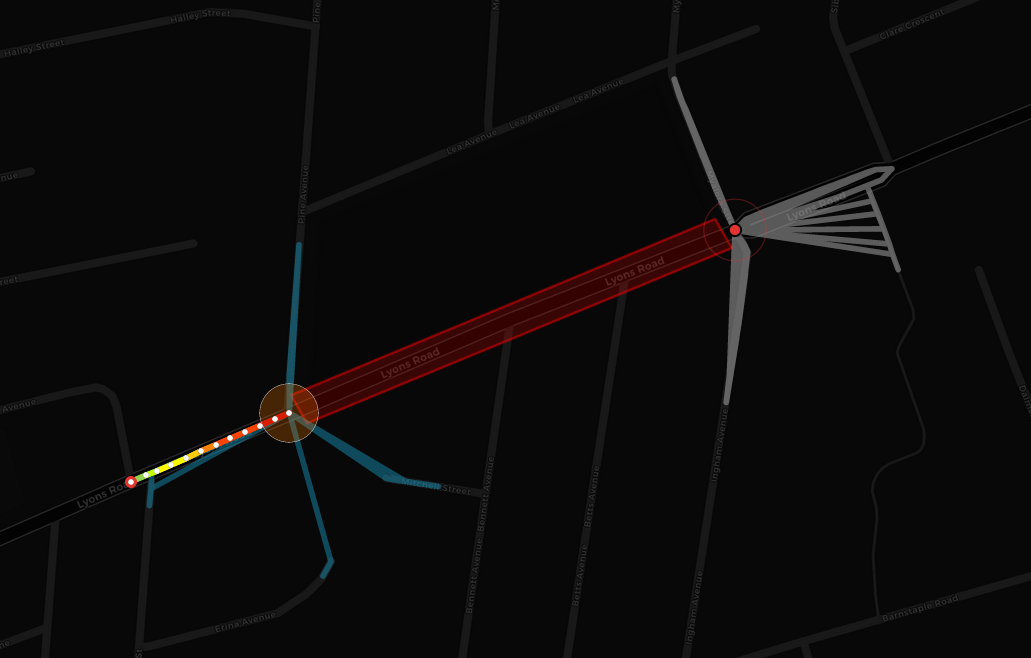
You can see that with the blocking element, any paths originating inside of the closed off street are excluded.
Resolving Paths Cutting Through Buildings#
The blocking element can also be used to re-run analysis that has returned paths that cut through buildings on the map. This is caused by the lack of data about the boundaries of surrounding buildings, requiring you to manually mark out those buildings using the Blocking Element Tool.